
Kubernetes Pods: Architecture, Lifecycle & Examples
 Visit my ByteStore

✍️ Translate this blog into Hindi, Tamil or Telugu
Kubernetes is a powerful platform for managing containers, but understanding how it works can feel confusing when we encounter terms such as Pods, Nodes, Containers and Deployments.
Let's start with the most important building block: Kubernetes Pods.
Imagine a restaurant kitchen. A customer places an order, the manager assigns it to a workstation, and the cooks prepare the food. Each person has a specific responsibility, but they work together to complete the order.
🛍️✨ From the author · ByteStore1:1 DevOps Project & Learning Discussion₹500View offer →Kubernetes follows a similar process. We describe what application we want to run, Kubernetes decides where it should run, and the components responsible for that Node start and manage the containers.
In this article, we'll understand what a Pod is, why Kubernetes uses Pods instead of managing containers directly, how containers communicate inside a Pod, how Kubernetes creates a Pod internally, and how to troubleshoot common Pod problems using practical examples.
1. What Is a Kubernetes Pod?
A Pod is the smallest deployable unit in Kubernetes.
A Pod is a wrapper around one or more containers. Kubernetes schedules and manages the Pod as a unit rather than scheduling each container independently.
Think of a Pod as a workstation in a restaurant kitchen.
The workstation represents the Pod.
The cook represents the main application container.
A helper working at the same workstation represents an additional container.
The shared workspace represents resources that containers in the Pod can share.
Most Pods contain one application container. Sometimes, a Pod contains multiple containers when they need to work closely together.
For example, an application might run in one container while another container collects its logs.
The important point is that all containers inside a Pod:
Run on the same Kubernetes Node.
Share the same network namespace and Pod IP address.
Can communicate with each other using
localhost.Can share storage volumes when those volumes are configured and mounted.
A Pod does not automatically share its filesystem between containers. Shared storage must be explicitly configured.
2. Why Does Kubernetes Use Pods Instead of Containers?
You might wonder: if Docker can run containers, why does Kubernetes need Pods?
Imagine a restaurant where a cook and a helper need to work together at the same workstation. They need to coordinate, communicate and sometimes access the same ingredients.
Kubernetes uses Pods to group containers that need to work closely together.
For example, consider an application that generates log files.
The main application container runs the application.
A helper container reads the application's log files and forwards them to a logging system.
Both containers belong to the same Pod because they have a close working relationship.
However, not every application needs a helper container. In fact, running one main application container per Pod is the most common approach.
When do we use multiple containers in a Pod?
One common pattern is the sidecar pattern.
A sidecar is an additional helper container that runs alongside the main application container in the same Pod. It supports the application by performing a closely related task, such as collecting logs, handling a proxy function or providing monitoring support.
The main application and sidecar can share configured volumes and communicate through the Pod's network.
3. Understanding Kubernetes Pod Architecture
Let's understand what happens inside a Pod.
A Pod provides a shared environment for its containers.
Shared networking
All containers inside the same Pod share one network namespace.
This means:
They share one Pod IP address.
They can communicate using
localhost.They share the same network port space.
For example, if an NGINX container listens on port 80, another container in the same Pod can reach it using:
http://localhost:80
However, two containers in the same Pod cannot both listen on the same IP address and port at the same time. They must use different listening ports if both expose network services.

Shared storage
Containers in a Pod can share data through Kubernetes volumes.
For example:
The application container writes log files to a shared volume.
The helper container mounts the same volume.
The helper reads those log files and forwards them to a logging system.
The volume is defined in the Pod specification and mounted separately into each container that needs access.
What about containers in different Pods?
Containers in different Pods do not share the same network namespace.
Each Pod normally receives its own IP address. Containers in different Pods communicate through the Kubernetes cluster network, using Pod IPs or Services.
A Service provides a stable way to reach a group of Pods even when individual Pod IP addresses change.
We'll explore Services in a separate article.
4. How Containers Communicate Inside a Pod
Let's take a simple example.
Suppose we have two containers inside one Pod:
NGINX application container listening on port 80.
Helper container listening on port 9000.
Because both containers share the same network namespace, the helper can communicate with NGINX through:
http://localhost:80
Both containers use the same Pod IP, but each application must use a different listening port if both need to accept connections.
Now imagine the NGINX application and helper are placed in two different Pods.
They have separate network namespaces and different Pod IP addresses. They communicate through the cluster network rather than sharing localhost.

Remember:
Same Pod = shared network namespace and
localhostcommunication.Different Pods = separate network namespaces and Pod IP addresses.
Shared files = possible through an explicitly configured shared volume.

5. How Kubernetes Creates a Pod Internally
When we run a command to create a Pod, does Kubernetes immediately start the container?
No. Several Kubernetes components work together before the container starts.
Let's understand the process using our restaurant kitchen example.
Imagine a customer orders a dish. The order is checked, recorded, assigned to a workstation, and then prepared. The workstation is also connected to the kitchen's network so that communication is possible.

Kubernetes follows a similar workflow.
Step 1: kubectl - We place the order
We submit a request using kubectl.
For example:
kubectl run nginx-lab --image=nginx:1.27
This tells Kubernetes that we want a Pod running the NGINX image.
Step 2: API Server - The request is checked
The API Server receives the request.
It checks authentication and authorization, applies admission controls and validates the resource request.
Think of it as the restaurant's front desk checking whether an order is valid before accepting it.
Step 3: etcd - The desired state is recorded
After the request is accepted, the Pod information is stored in etcd, Kubernetes' distributed key-value store.
Think of etcd as the restaurant's order book.
It records what Kubernetes is expected to maintain.
Step 4: Scheduler - A Node is selected
The Scheduler watches for Pods that have not yet been assigned to a Node.
It evaluates suitable Nodes and selects one for the Pod.
Think of it as the manager assigning the order to an available workstation.
Important: The Scheduler selects the Node. It does not start the containers.
Step 5: Kubelet - The Node prepares the Pod
The Kubelet runs on each worker Node.
It watches for Pods assigned to its Node and makes sure they are running according to the Pod specification.
Think of the Kubelet as the supervisor responsible for ensuring the workstation prepares the assigned order.
Step 6: Container Runtime - Containers are started
The Kubelet communicates with the container runtime through the Container Runtime Interface (CRI).
The runtime pulls the required image if needed and creates and starts the containers.
Examples of container runtimes include containerd and CRI-O.
Step 7: CNI - Pod networking is configured
The Container Network Interface (CNI) is a standard interface used by container networking plugins.
The networking plugin configures the Pod's network connectivity, including its network interface and IP address.
Think of this as connecting the workstation to the kitchen's communication network.

Remember the workflow:
Ask → Check and Store → Choose a Node → Start Containers → Connect Networking
| Kubernetes component | Main responsibility |
|---|---|
| kubectl | Sends the request |
| API Server | Receives and validates the request |
| etcd | Stores cluster state |
| Scheduler | Selects a Node |
| Kubelet | Ensures the Pod runs on that Node |
| Container Runtime | Creates and starts containers |
| CNI plugin | Configures Pod networking |
6. Creating a Kubernetes Pod Using kubectl
Now let's create our first Pod.
Before running the command, make sure your Kubernetes cluster is running and kubectl can communicate with the API Server.
Check the Nodes:
kubectl get nodesIf the Nodes are available, create an NGINX Pod:
kubectl run nginx-lab --image=nginx:1.27Check whether the Pod was created:
kubectl get podsYou may see output similar to:
NAME        READY   STATUS    RESTARTS   AGE
nginx-lab   1/1     Running   0          30s
Let's understand the columns:
NAME: Name of the Pod.
READY: Number of ready containers compared with the total number of containers.
STATUS: Current Pod phase or displayed status.
RESTARTS: Number of container restarts.
AGE: How long the Pod has existed.
The output 1/1 means one container is ready out of one container in the Pod.
To get more information:
kubectl describe pod nginx-labThis command shows details such as the Pod's Node, IP address, container information, conditions and Events.
7. Understanding Kubernetes Pod YAML
Instead of creating a Pod using a command, we can define it in a YAML file.
First, let's understand the basic structure.
apiVersion: v1
kind: Pod
metadata:
  name: nginx-lab
spec:
  containers:
    - name: nginx
      image: nginx:1.27
      ports:
        - containerPort: 80
A useful way to remember the four main fields is:
What API? What object? What name? What desired state?
| Field | Purpose |
|---|---|
apiVersion | Identifies the Kubernetes API version |
kind | Defines the resource type |
metadata | Contains the resource name and other identifying information |
spec | Describes the desired configuration |
Let's understand the YAML indentation.
apiVersion,kind,metadataandspecare top-level fields.nameis nested undermetadata.containersis nested underspec.The hyphen (
-) starts an item in a YAML list.imageandportsbelong to the container entry.containerPortdescribes the port the container is expected to use.
YAML uses indentation to represent relationships between fields. Use spaces, not tabs.
This is a common Kubernetes resource structure, although the fields inside spec differ depending on the resource type.
A Pod's spec can also contain fields such as environment variables, resource requests and limits, volume mounts, probes, security settings and restart policy.
One important detail: containerPort: 80 does not expose the application outside the Pod. It documents the port used by the container. To provide stable network access to Pods, we typically use a Kubernetes Service.
Apply the YAML file
Save the configuration in a file named nginx-pod.yaml.
Create the Pod:
kubectl apply -f nginx-pod.yamlCheck the Pod:
kubectl get podsTo inspect its configuration:
kubectl describe pod nginx-lab8. Understanding the Kubernetes Pod Lifecycle
A Pod does not remain in one state throughout its lifetime.
Kubernetes reports a Pod phase to describe its broad lifecycle state.

The main Pod phases are:
Pending
The Pod has been accepted by Kubernetes, but its setup is not yet complete.
Possible reasons include:
The Scheduler has not assigned a Node.
The required container image is still being downloaded.
Required storage is not available.
Running
The Pod has been bound to a Node, and its containers have been created. At least one container is running, starting or restarting.
Remember: Running does not always mean Ready.
A Pod can be Running while its application is still starting or while its readiness probe is failing.
Succeeded
All containers in the Pod have terminated successfully.
This is common for workloads that run a task and then finish, such as a Job.
Failed
All containers have terminated, and at least one container terminated unsuccessfully.
Unknown
Kubernetes cannot determine the Pod's current state, often because it cannot communicate with the Node.

9. What Happens When a Container Inside a Pod Crashes?
Let's imagine that our NGINX container is running and suddenly crashes.
Does Kubernetes create a completely new Pod every time a container crashes?
Not necessarily.
Kubernetes uses the Pod's restartPolicy to decide whether a terminated container should be restarted.
The available policies are:
| Restart policy | Behaviour |
|---|---|
Always | Restarts a terminated container, regardless of its exit status |
OnFailure | Restarts a container when it exits unsuccessfully |
Never | Does not restart the terminated container |
For ordinary Pods, the default restart policy is Always.
A key distinction:
A container can restart inside the existing Pod.
A standalone Pod is not automatically replaced if the Pod itself is deleted.
A Deployment or ReplicaSet can create a replacement Pod when a managed Pod is deleted or becomes unavailable.
This is one reason we normally use Deployments to run application workloads instead of relying on standalone Pods.
10. Accessing an NGINX Pod
We have created an NGINX Pod. How can we access the application?
For a simple local test, we can use port forwarding.
Run:
kubectl port-forward pod/nginx-lab 8080:80Keep this terminal running.
Open another terminal and execute:
curl http://localhost:8080You should receive the NGINX welcome page HTML.
What does 8080:80 mean?
8080is the port on your local machine.80is the port inside the Pod.
Port forwarding is useful for testing and debugging. It is not the usual way to expose an application to users in production.
11. Troubleshooting Common Kubernetes Pod Problems
Creating a Pod is only the first step. In real projects, Pods can fail to start, containers can crash, images may not download, and applications may not become ready.
The important skill is not memorising error names. It is learning what to check first and how to identify the actual cause.
Start with this command:
kubectl get pods -o wideIt shows the Pod status, Node and IP address.
If the Pod is in a namespace other than default, include the namespace:
kubectl get pods -n <namespace>First check: Can kubectl reach the Kubernetes cluster?
You might see an error like:
The connection to the server 127.0.0.1:32771 was refusedThis does not mean your NGINX Pod has failed.
It means kubectl cannot connect to the Kubernetes API Server at the configured address.
Check the current context:
kubectl config current-contextList available contexts:
kubectl config get-contextsCheck cluster connectivity:
kubectl cluster-infoThen check whether the cluster itself is running using the tool that created it, such as Kind, Minikube or Docker Desktop.
Fix the cluster connectivity problem before troubleshooting Pods. If the API Server is unreachable, Pod commands cannot provide reliable cluster information.
Problem 1: Pod is stuck in Pending
Example:
NAME        READY   STATUS
nginx-lab   0/1     Pending
What does it mean?
Kubernetes has accepted the Pod, but it cannot complete the steps required to run it.
Possible causes include:
Insufficient CPU or memory on available Nodes.
Node scheduling restrictions or taints.
Persistent storage that is not yet available.
The Pod has not yet been scheduled.
What should we check?
kubectl describe pod nginx-labLook at the Events section at the bottom.
For example, FailedScheduling may indicate that no available Node satisfies the Pod's requirements.
How do we fix it?
The fix depends on the Event message. We may need to free resources, correct scheduling requirements, address Node taints or fix the storage configuration.
Verify again:
kubectl get podsProblem 2: ImagePullBackOff or ErrImagePull
Example:
NAME        READY   STATUS
nginx-lab   0/1     ImagePullBackOff
What does it mean?
Kubernetes cannot download the required container image.
Possible causes include:
Incorrect image name.
Incorrect image tag.
Private registry authentication failure.
Network connectivity problems.
ErrImagePull indicates an image pull attempt failed. ImagePullBackOff means Kubernetes is waiting before retrying the failed pull.
What should we check?
kubectl describe pod nginx-labLook at the Events section for the actual image pull error.
How do we fix it?
Check the image name and tag. If the image belongs to a private registry, verify that the required image pull credentials are configured.
Then verify:
kubectl get podsProblem 3: CrashLoopBackOff
Example:
NAME        READY   STATUS
nginx-lab   0/1     CrashLoopBackOff
What does it mean?
The container starts, exits, and Kubernetes attempts to restart it. This happens repeatedly, so Kubernetes increases the delay between restart attempts.
The status tells us that repeated crashes are happening. It does not tell us the root cause.
What should we check?
First, inspect the current container logs:
kubectl logs nginx-labIf the container has restarted, inspect the previous container's logs:
kubectl logs nginx-lab --previousAlso inspect the Pod:
kubectl describe pod nginx-labHow do we fix it?
Look for the actual application error. Common causes include:
Incorrect startup command.
Missing environment variables.
Application configuration errors.
Missing files or dependencies.
Incorrect health-check configuration.
Fix the underlying problem and verify that the container stays running.
Problem 4: Pod is Running but not Ready
Example:
NAME        READY   STATUS
nginx-lab   0/1     Running
What does it mean?
The container is running, but Kubernetes has not marked it as ready to serve traffic.
A common reason is a failing readiness probe.
A readiness probe checks whether an application is ready to receive requests.
What should we check?
kubectl describe pod nginx-labCheck the Conditions, container details and Events.
How do we fix it?
Check whether the readiness probe uses the correct port, path and timing. Also verify that the application has finished starting and is actually listening on the expected port.
Problem 5: CreateContainerConfigError
What does it mean?
Kubernetes cannot create the container because some required configuration is missing or incorrect.
Possible causes include:
A referenced ConfigMap does not exist.
A referenced Secret does not exist.
A required key is missing.
A volume or mount configuration is incorrect.
What should we check?
kubectl describe pod <pod-name>Look at the Events section to identify the missing or incorrect configuration.
How do we fix it?
Create or correct the required ConfigMap, Secret or volume configuration, then verify the Pod again.
Problem 6: Container is OOMKilled
What does it mean?
The container was terminated because it exceeded the memory available to it under the applicable memory limit or system conditions.
What should we check?
kubectl describe pod <pod-name>Inspect the container's last termination state and reason.
If the reason is OOMKilled, investigate memory usage and the configured memory limit.
How do we fix it?
Check whether the application has a memory leak or unexpectedly high memory usage. Adjust resource requests and limits based on actual workload requirements.
An exit code such as 137 can be a clue, but it does not by itself prove that the container was OOMKilled. Check the reported termination reason.
Problem 7: Pod shows Unknown
What does it mean?
The control plane cannot determine the Pod's current state. This can happen when communication with the Node is lost.
What should we check?
kubectl get nodesThen inspect the affected Node:
kubectl describe node <node-name>Check Node conditions and investigate whether the Node or its Kubelet is healthy.

Useful troubleshooting commands
| Command | Why we use it |
|---|---|
kubectl get pods -o wide | Check Pod status, Node and IP |
kubectl describe pod <pod-name> | Inspect configuration, conditions and Events |
kubectl logs <pod-name> | Read container application logs |
kubectl logs <pod-name> --previous | Read logs from the previous container instance |
kubectl get events --sort-by=.metadata.creationTimestamp | Review recent cluster Events |
kubectl get nodes | Check Node availability |
For a Pod with multiple containers, specify which container's logs you want:
kubectl logs <pod-name> -c <container-name>A troubleshooting habit worth remembering:
Status → Events → Logs → Configuration → Fix → Verify
Do not start changing YAML or restarting resources without first understanding the error message.
12. Cleaning Up the Pod
After completing the practical exercise, delete the Pod:
kubectl delete pod nginx-labVerify that it has been removed:
kubectl get podsThis removes the standalone Pod. If the Pod were managed by a Deployment or ReplicaSet, its controller could create a replacement Pod to maintain the desired number of replicas.
13. What Have We Learned?
Let's recap the important concepts.
A Pod is the smallest deployable unit in Kubernetes.
A Pod can contain one or more containers.
Most Pods run one main application container.
Containers in the same Pod share a network namespace and can communicate through
localhost.Containers can share storage when a volume is configured and mounted.
The Scheduler selects a Node, while the Kubelet and container runtime start the containers.
CNI networking plugins configure Pod networking.
Pod phases include Pending, Running, Succeeded, Failed and Unknown.
A container restart is different from replacing a Pod.
kubectl describeandkubectl logsare important troubleshooting tools.
The most important thing to remember is that Kubernetes does not simply start containers. It continuously works to maintain the desired state declared in the configuration.
A Pod is the foundation for running applications in Kubernetes. Once we understand Pods, it becomes easier to understand how Kubernetes maintains application availability using ReplicaSets and Deployments.
Continue Learning: Kubernetes Series
Kubernetes Pods Explained: Architecture, Lifecycle and Practical Examples
Kubernetes ReplicaSets Explained: Maintaining the Desired State
Kubernetes Deployments Explained: Rolling Updates and Rollbacks
How Pods, ReplicaSets and Deployments Work Together
In the next article, we'll explore Kubernetes ReplicaSets and understand how Kubernetes maintains the desired number of Pods even when some of them fail or get deleted.
❓ Questions readers ask
What is a Kubernetes Pod?
A Kubernetes Pod is the smallest deployable unit in Kubernetes. It contains one or more containers that run together.
Can two containers inside a Pod communicate using localhost?
Yes. Containers in the same Pod share a network namespace and can communicate using localhost, provided they use different listening ports.
What happens when a container inside a Pod crashes?
The kubelet can restart the container according to the Pod's restartPolicy. The Pod itself is not necessarily replaced.
Does Kubernetes automatically recreate a deleted standalone Pod?
No. A standalone Pod is not automatically recreated after deletion. A controller such as a ReplicaSet or Deployment can create replacement Pods.
What is the difference between Running and Ready in Kubernetes?
Running describes the Pod phase. Ready indicates whether the Pod is considered ready to serve traffic.
🛍️ Malathi Shetty's shelf
Courses, cohorts and more from the author
I’m a Senior Software Quality Engineer learning and transitioning into Cloud & DevOps. I’m currently working hands-on with AWS, Azure, Linux, Docker, Kubernetes, CI/CD and DevSecOps. I share what I learn through practical projects and real-world examples.
Visit my ByteStoreLearning, building and sharing practical Cloud & DevOps experiences.🌟 See Malathi Shetty's full profile: blogs, work and verified certificates
Get Malathi Shetty's next blog by email
One email a week when they publish. Add the weekly Best of ByteBlog too. No spam, unsubscribe with one click.
We email you once to confirm. By subscribing you agree to the privacy policy.
More from Malathi Shetty
 Malathi ShettyFreelancer
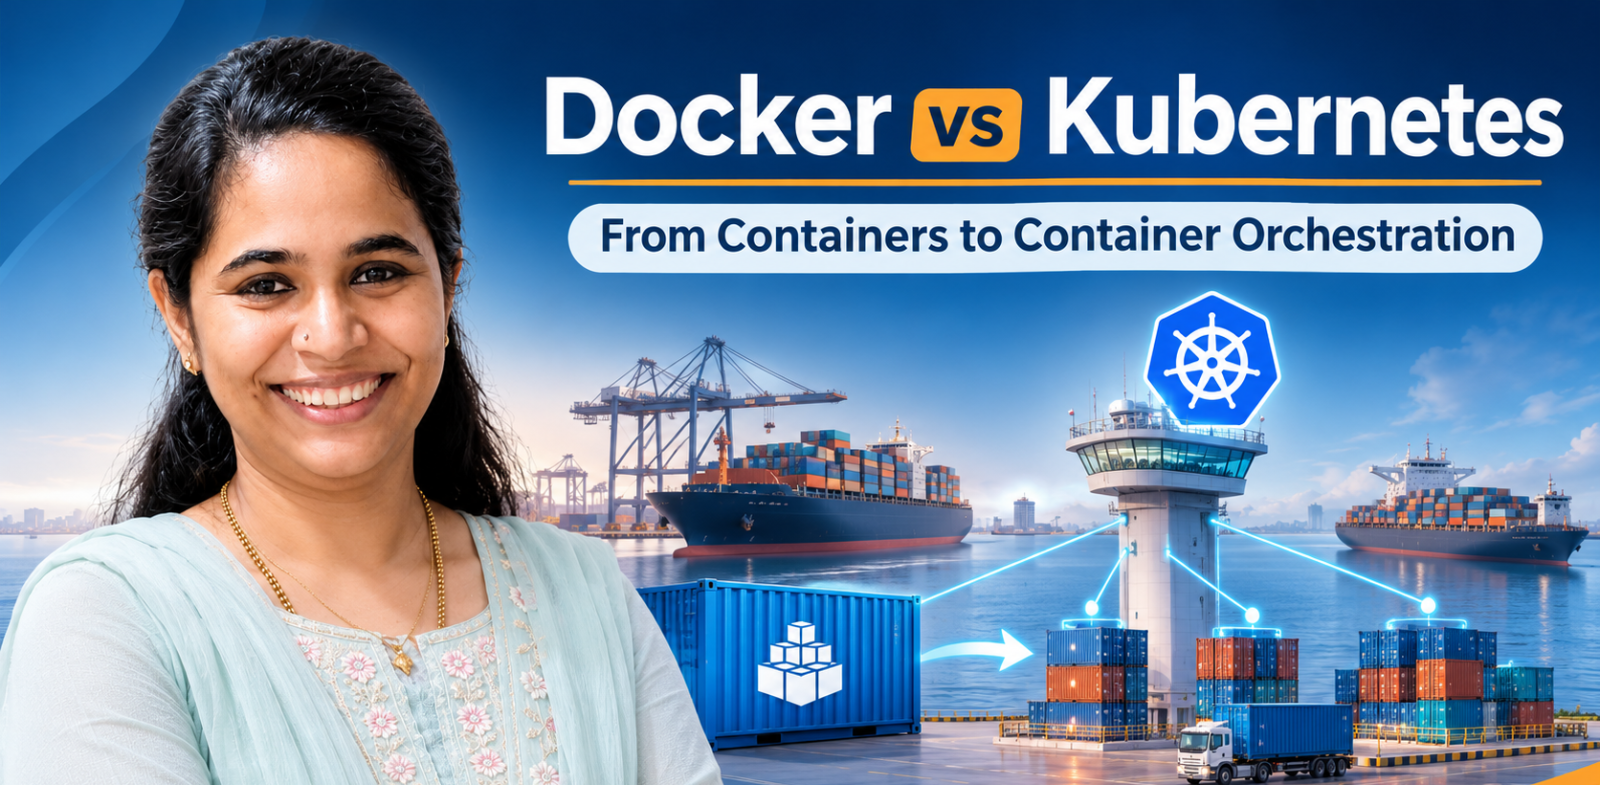
Docker vs Kubernetes: Understanding Containers
Docker made it easier to package and run applications. But what happens when you need to manage hundreds of containers across multiple servers?
#cloudcomputing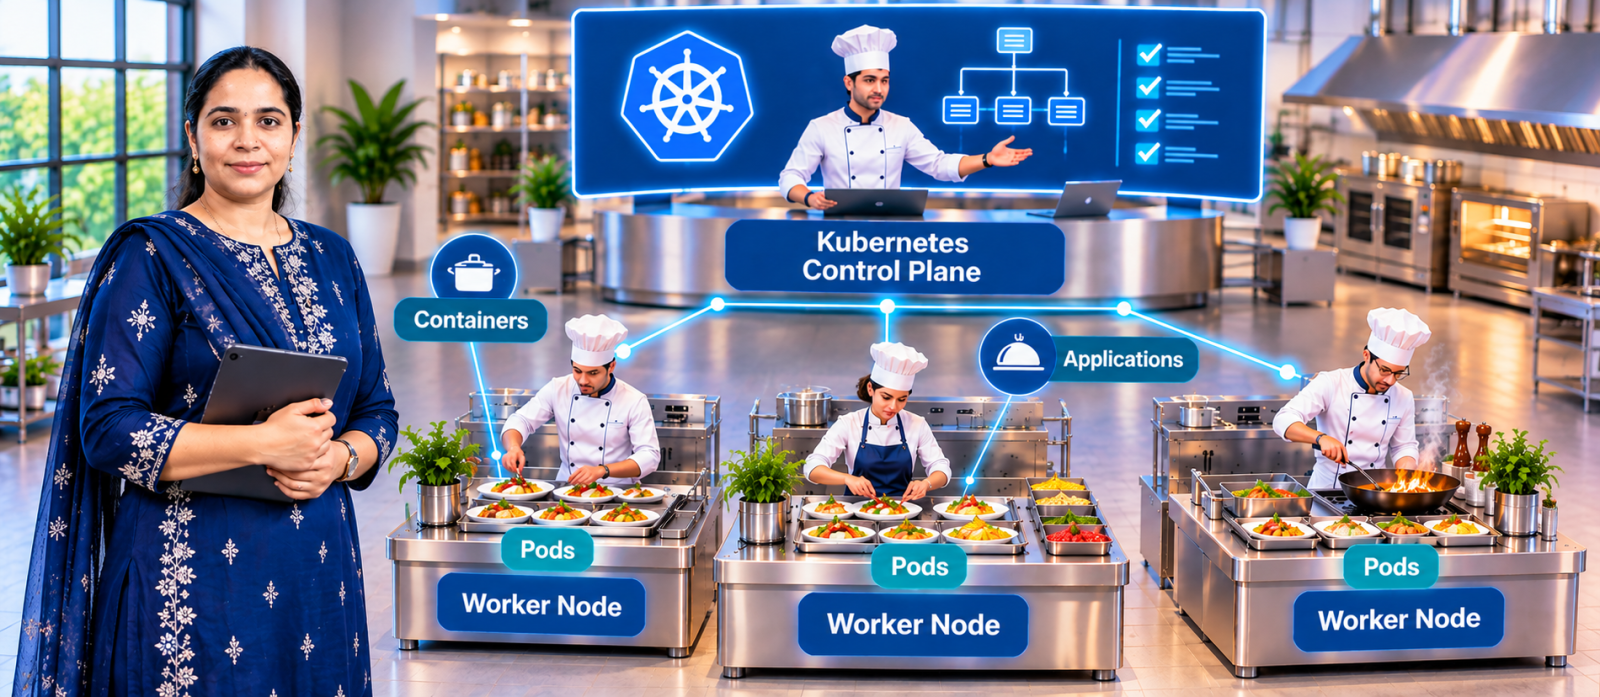 Malathi ShettyFreelancer
Kubernetes Basics Through a Restaurant Kitchen
Have you ever opened a Kubernetes tutorial, seen words like Pod, Node, Control Plane, ReplicaSet and DaemonSet, and wondered how they all connect?
#cloud-native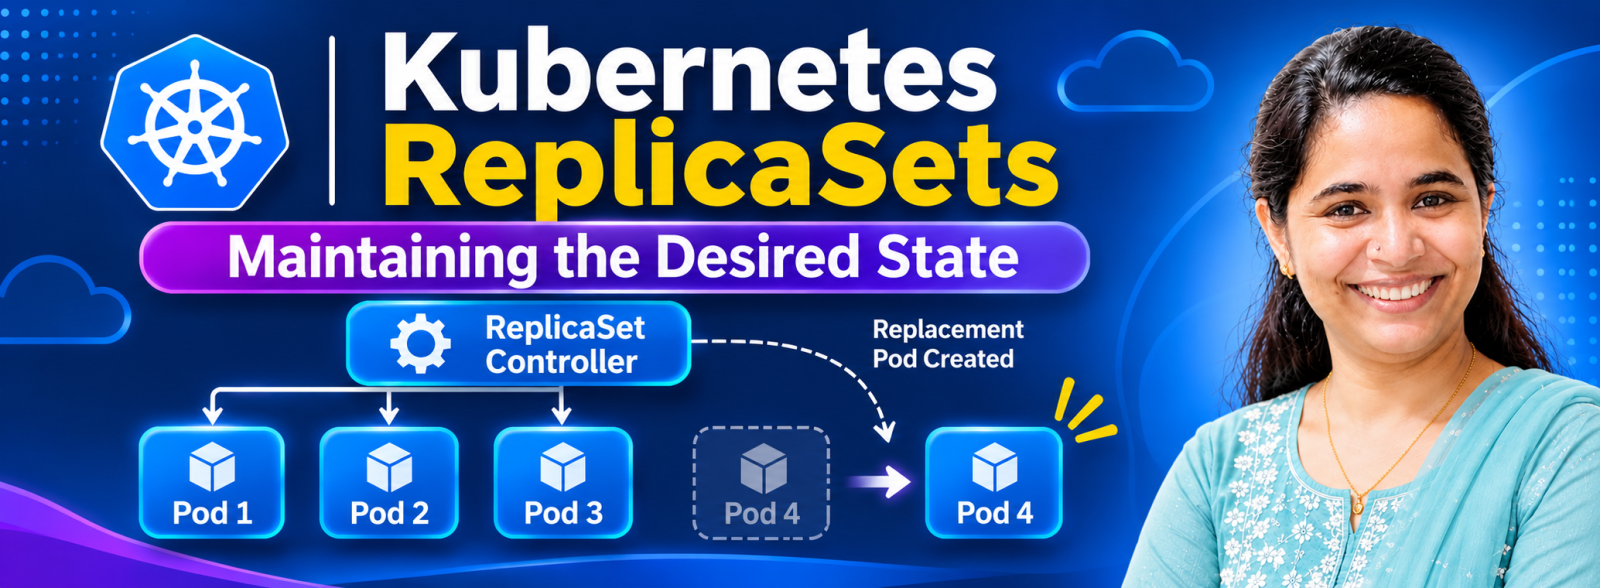 Malathi ShettyFreelancer
Kubernetes ReplicaSets Explained: Maintaining the Desired State
Understand how Kubernetes ReplicaSets maintain the desired number of Pods, replace deleted Pods, and work with Deployments through practical examples.
#devops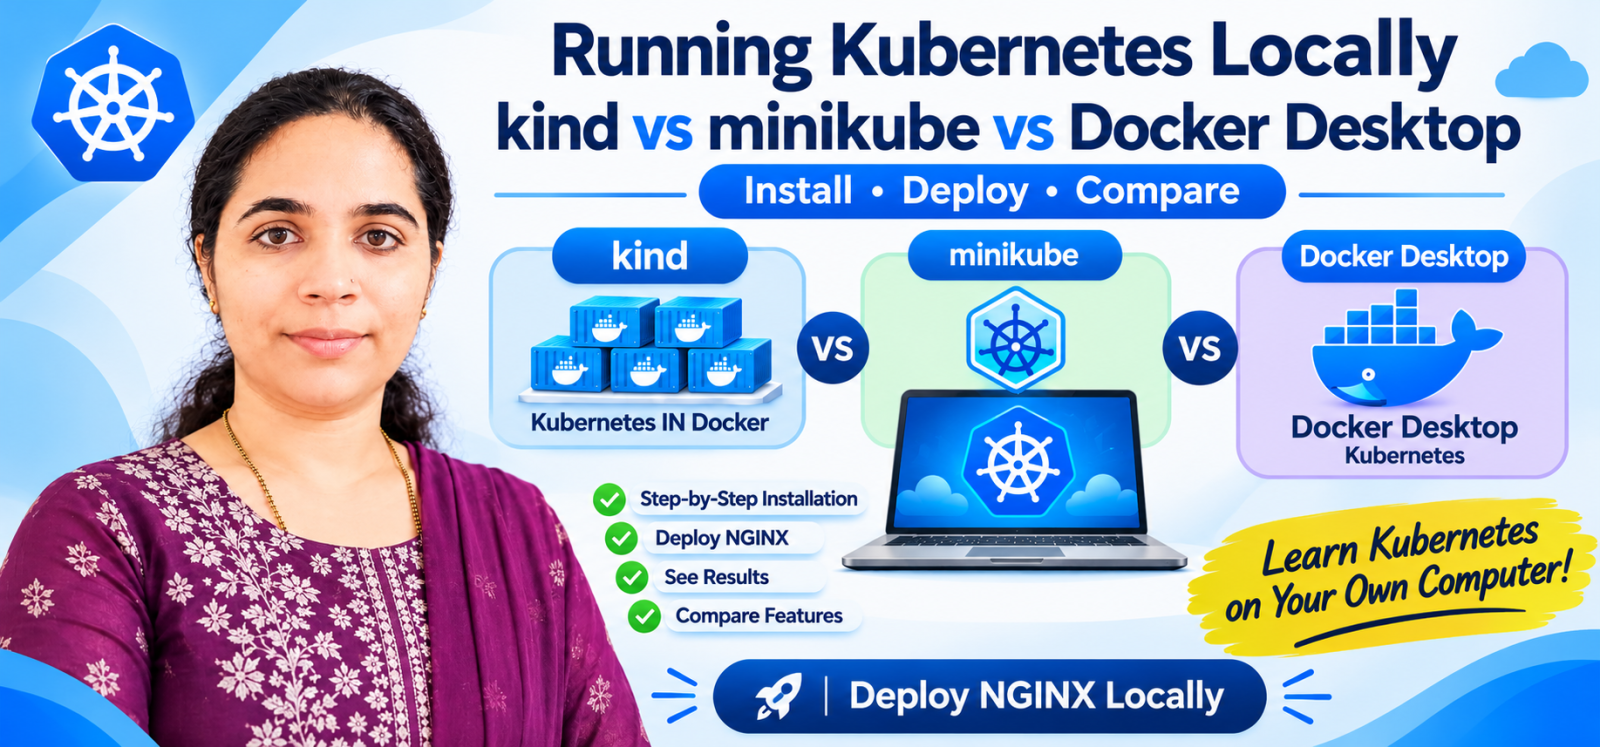 Malathi ShettyFreelancer
Running Kubernetes Locally: kind vs minikube vs Docker Desktop
Learn how to set up Local Kubernetes with kind, minikube and Docker Desktop, deploy an NGINX application, and compare the tools through hands-on examples.
💬 Comments (0)
Top · NewestSign in to comment