
Kubernetes ReplicaSets Explained: Maintaining the Desired State
Understand how Kubernetes ReplicaSets maintain the desired number of Pods, replace deleted Pods, and work with Deployments through practical examples.
 Visit my ByteStore

✍️ Translate this blog into Hindi, Tamil or Telugu
1. What Are Kubernetes ReplicaSets?
Kubernetes ReplicaSets help maintain the required number of application Pods running in a Kubernetes cluster.
Imagine you run a restaurant. During busy hours, you need three chefs working in the kitchen. If one chef leaves, you need someone to replace them so that three chefs are available again.
Kubernetes works in a similar way.
🛍️✨ From the author · ByteStore1:1 DevOps Project & Learning Discussion₹500View offer →A ReplicaSet is a Kubernetes controller that makes sure a specified number of matching Pods are running in a cluster.
For example, if you want three copies of your application running, you can configure a ReplicaSet with three replicas.
If only two matching Pods exist, the ReplicaSet creates another Pod.
If four matching Pods exist, it removes the extra Pod.
If one Pod is deleted, it creates a replacement.
Its main responsibility is to maintain the desired number of matching Pods.
Remember: A ReplicaSet continuously works towards maintaining the desired number of matching Pods.
2. ReplicaSet vs Deployment
Before creating a ReplicaSet, let's understand how it differs from a Deployment.
Imagine the restaurant needs three chefs in the kitchen.
ReplicaSet: Makes sure three chefs are available.
Deployment: Manages changes to the restaurant's menu and coordinates how those changes are introduced.
In Kubernetes:
| ReplicaSet | Deployment |
|---|---|
| Maintains the desired number of matching Pods. | Manages application updates and rollbacks. |
| Creates replacement Pods when required. | Manages ReplicaSets behind the scenes. |
| Does not manage application rollouts. | Supports rolling updates and rollbacks. |
A Deployment uses ReplicaSets to maintain the required Pods.
For example, when you update an application from version 1 to version 2, the Deployment manages the rollout by creating and scaling ReplicaSets.
A ReplicaSet alone does not manage rolling updates or rollbacks.
We usually create Deployments rather than managing ReplicaSets directly when running applications in Kubernetes.
In the next article, let's understand Kubernetes Deployments.
3. Why Do We Need a ReplicaSet?
Let's understand this with a simple example.
Suppose you deploy an application with three Pods.
Your desired state is:
3 Pods
But one Pod gets deleted.
Now the actual state is:
2 Pods
If these were standalone Pods with no controller, a deleted Pod would simply stay gone. A ReplicaSet exists so that doesn't happen.
A ReplicaSet continuously checks the actual state against the desired state. When it detects that one Pod is missing, it creates another Pod.
This process is called reconciliation.
| Term | Meaning |
|---|---|
| Desired state | What you want Kubernetes to maintain |
| Actual state | What currently exists in the cluster |
| Reconciliation | The process of bringing the actual state closer to the desired state |
Memory tip: Desired state is what you want. Actual state is what you have. Reconciliation is how Kubernetes works towards making them match.

4. How Does a ReplicaSet Identify Pods?
A ReplicaSet needs to know which Pods it should manage.
How does it identify them?
It uses labels and selectors.
Labels
Labels are key-value pairs attached to Kubernetes objects.
For example:
labels:
  app: nginx
This label tells us that the Pod belongs to the nginx application.
Selectors
A selector tells the ReplicaSet which Pods it should manage.
For example:
selector:
  matchLabels:
    app: nginx
The ReplicaSet looks for Pods with the matching label app: nginx.
Important: The selector in the ReplicaSet must match the labels defined in its Pod template. If they don't match, the API server rejects the ReplicaSet when you try to create it.
For an apps/v1 ReplicaSet, the selector is required and is immutable after creation. You cannot change it on an existing ReplicaSet.
If you need a different selector, create a new ReplicaSet with the new selector, then delete the old one so the two don't compete over the same Pods. More generally, avoid overlapping selectors across controllers.

5. Creating a ReplicaSet Using YAML
Let's create a ReplicaSet that maintains three NGINX Pods.
Create a file named nginx-replicaset.yaml.
apiVersion: apps/v1
kind: ReplicaSet

metadata:
  name: nginx-replicaset

spec:
  replicas: 3

  selector:
    matchLabels:
      app: nginx

  template:
    metadata:
      labels:
        app: nginx

    spec:
      containers:
        - name: nginx
          image: nginx:1.27
          ports:
            - containerPort: 80
Understanding the YAML
| Field | Purpose |
|---|---|
apiVersion: apps/v1 | Specifies the Kubernetes API version. |
kind: ReplicaSet | Tells Kubernetes to create a ReplicaSet. |
metadata.name | Gives the ReplicaSet its name. |
spec.replicas: 3 | Sets the desired number of Pods to three. |
selector.matchLabels | Identifies the Pods the ReplicaSet should manage. |
template | Defines how new Pods should be created. |
template.metadata.labels | Adds labels to the Pods created by the ReplicaSet. |
containers | Defines the container that runs inside each Pod. |
image | Specifies the container image. |
containerPort: 80 | Documents the port the container is expected to use. |
Notice that the YAML contains two spec sections:
The outer
specdescribes the desired state of the ReplicaSet.The inner
spec, undertemplate, describes the Pod that the ReplicaSet should create.
The containerPort field does not expose the application outside the Pod. To make an application accessible through a Kubernetes Service, you need to create a Service separately.
Create the ReplicaSet
Run:
kubectl apply -f nginx-replicaset.yamlWhat does this command do?
kubectlis the Kubernetes command-line tool.applycreates or updates a resource using the configuration in a YAML file.-fspecifies the file to use.
Expected output:
replicaset.apps/nginx-replicaset createdVerify the ReplicaSet
Run:
kubectl get replicasetsYou should see output similar to:
NAME               DESIRED   CURRENT   READY   AGE
nginx-replicaset   3         3         3       30s
Let's understand the columns:
| Column | Meaning |
|---|---|
NAME | Name of the ReplicaSet |
DESIRED | Number of Pods you want |
CURRENT | Number of matching Pods currently counted by the ReplicaSet |
READY | Number of Pods that are ready |
AGE | How long the ReplicaSet has existed |
In this example, all three values are 3, which means the ReplicaSet has created three matching Pods and all three are ready.
Check the Pods
Run:
kubectl get podsYou should see three NGINX Pods.
Their names will look similar to:
nginx-replicaset-xxxxx
nginx-replicaset-yyyyy
nginx-replicaset-zzzzz
The actual Pod names will be different in your cluster.
Remember: The ReplicaSet name is the same, but Kubernetes generates unique names for the Pods.
6. What Happens When a Pod Is Deleted?
Let's understand the self-healing behaviour of a ReplicaSet.
Suppose your ReplicaSet maintains three Pods.
First, list the Pods:
kubectl get podsChoose one Pod and delete it:
kubectl delete pod <pod-name>Replace <pod-name> with the actual name of one of your Pods.
Now check the Pods again:
kubectl get podsWhat happens?
Kubernetes deletes the selected Pod.
The ReplicaSet notices that only two matching Pods remain.
The ReplicaSet creates another Pod.
Kubernetes works towards restoring the desired count of three.
You may briefly see the old Pod in Terminating and the replacement Pod in ContainerCreating (timing varies).
The replacement Pod is a new Pod. It can have a different name and IP address.
Important: The ReplicaSet does not restore the deleted Pod. It creates a new Pod to maintain the required count.

7. Does a ReplicaSet Restart Containers?
This is an important distinction.
A ReplicaSet maintains the number of matching Pods. It does not restart containers inside an existing Pod.
Container restarts are handled by the kubelet, which runs on the Kubernetes node.
Let's understand the difference.
| Situation | What happens? |
|---|---|
| A container inside a Pod crashes | The kubelet attempts to restart the container inside the same Pod. |
| A Pod is deleted | The ReplicaSet creates a replacement Pod if needed. |
| A node becomes unreachable | Kubernetes node and Pod controllers handle the node condition; a replacement may be created after the affected Pod is evicted. |
What if a container crashes?
When a container crashes, the kubelet can restart it inside the same Pod.
The Pod name and IP address normally remain the same, while the RESTARTS count increases.
If the container repeatedly fails, you may see a status such as:
CrashLoopBackOffThink of the restaurant example: a chef who burns a dish is not replaced. The kitchen just keeps working, like a container restarting in the same Pod.
A ReplicaSet does not create another Pod just because a container inside an existing Pod is repeatedly crashing. The existing Pod is still counted as an active replica, even if it is not ready.
For example, you may see:
NAME               DESIRED   CURRENT   READY
nginx-replicaset   3         3         2
Here:
DESIREDis 3 because you requested three Pods.CURRENTis 3 because three matching Pods exist and are counted.READYis 2 because only two Pods are ready.
The ReplicaSet does not fix the application error inside the third Pod.
What if a node becomes unreachable?
If a node becomes unreachable, Kubernetes does not necessarily replace its Pods immediately.
By default, Pods tolerate the not-ready and unreachable node conditions for five minutes before being evicted, unless their tolerations or cluster configuration specify otherwise.
If the node becomes healthy again before the toleration period ends, those Pods may continue running without being evicted because of those conditions.
Other eviction causes, such as resource pressure, can still apply.
Remember this difference:
Container failure: kubelet handles container restarts.
Pod deletion or eviction: the ReplicaSet works to create a replacement Pod.
Node failure: Kubernetes node and Pod controllers handle the node condition and eviction process.
8. Scaling Pods Using kubectl
So far, we created three Pods.
What if we need five Pods instead?
We can change the desired number of replicas using the kubectl scale command.
Scale up
Run:
kubectl scale replicaset nginx-replicaset --replicas=5This command changes the desired number of replicas from three to five.
Verify:
kubectl get replicasetsYou should eventually see five Pods.
Scale down
Now let's reduce the number of Pods from five to two.
Run:
kubectl scale replicaset nginx-replicaset --replicas=2Verify:
kubectl get replicasets
kubectl get pods
Kubernetes removes the excess Pods and works towards maintaining two replicas.
Quick summary
| Action | Desired replicas | What happens? |
|---|---|---|
| Initial creation | 3 | Creates three Pods |
| Scale up | 5 | Creates two additional Pods |
| Scale down (from 5) | 2 | Removes excess Pods until two remain |
Important: The kubectl scale command changes the live desired replica count. If you later apply the original YAML file with replicas: 3, applying that file will set the desired count back to three.
9. Verifying a ReplicaSet
After creating or scaling a ReplicaSet, we should verify whether it is working as expected.
Use these commands:
Check the ReplicaSet
kubectl get replicasetsCheck whether DESIRED, CURRENT and READY match your target (see Section 5 for what each column means).
Check the Pods
kubectl get podsYou should eventually see the expected number of Pods in Running state, with their containers ready.
Get detailed information
kubectl describe replicaset nginx-replicasetThis command displays detailed information about the ReplicaSet, including:
Desired and current replica counts
Pod selector
Pod template
Events related to the ReplicaSet
It is useful when something is not working as expected.
10. Troubleshooting Common ReplicaSet Issues
Let's look at a few situations you may encounter while working with ReplicaSets.
Situation 1: Desired replicas are 3, but current replicas are 0
Check:
kubectl get replicasetsIf you see:
NAME               DESIRED   CURRENT   READY
nginx-replicaset   3         0         0
The ReplicaSet wants three Pods, but no matching active Pods are currently counted.
Get more details:
kubectl describe replicaset nginx-replicasetCheck the events:
kubectl get events --sort-by=.metadata.creationTimestampLook for errors such as:
FailedCreatePossible reasons include:
ResourceQuota limits prevent new Pods from being created.
Pod Security admission rejects the Pod.
An admission policy or webhook blocks creation.
A required ServiceAccount does not exist.
Also check whether you are working in the correct namespace.
kubectl config view --minify -o jsonpath='{..namespace}'If the command returns an empty value, the current context normally uses the default namespace.
Situation 2: Pod is stuck with ImagePullBackOff
Sometimes Kubernetes cannot download the container image.
You may first see:
ErrImagePullAfter repeated failures, it may change to:
ImagePullBackOffPossible reasons:
The image name is incorrect.
The image tag does not exist.
The image is in a private registry and authentication is missing.
The cluster cannot connect to the registry.
Check the Pod:
kubectl get podsGet more details:
kubectl describe pod <pod-name>Look at the Events section to understand why the image could not be pulled.
Fix the image name, tag, registry authentication or connectivity issue as appropriate.
Situation 3: Pod is in CrashLoopBackOff
A Pod may be created successfully, but its container may keep crashing.
Check the logs:
kubectl logs <pod-name>If the container has already restarted, check the logs from its previous run:
kubectl logs <pod-name> --previousGet more details:
kubectl describe pod <pod-name>Look at the container status and Events.
Remember:
The kubelet attempts to restart the container.
The Pod name generally stays the same.
The
RESTARTScount increases.The ReplicaSet still counts the active Pod, even if it is not ready.
The ReplicaSet does not fix the application error.
Situation 4: ReplicaSet is managing or deleting unexpected Pods
A ReplicaSet can adopt existing Pods if they match its selector and are not already controlled by another controller.
For example, our ReplicaSet uses this selector:
selector:
  matchLabels:
    app: nginx
Now imagine you create a standalone Pod with the same label:
kubectl run extra-nginx --image=nginx:1.27 --labels=app=nginxIf the ReplicaSet already has three matching Pods, it may adopt this additional Pod. It now sees four matching Pods, so it works to bring the count back to three.
It may delete one of the matching Pods to restore the desired count. Newer or not-yet-ready Pods are more likely to be removed first, but this is not guaranteed.
How do you investigate?
List the Pods and their labels:
kubectl get pods --show-labelsCheck the ReplicaSet:
kubectl describe replicaset nginx-replicasetInspect a Pod:
kubectl describe pod <pod-name>You can also inspect its YAML:
kubectl get pod <pod-name> -o yamlLook for the ownerReferences section.
For a Pod managed by our ReplicaSet, it may look like this:
ownerReferences:
  - apiVersion: apps/v1
    kind: ReplicaSet
    name: nginx-replicaset
    controller: true
This tells you that the ReplicaSet is the Pod's controlling owner.
Remember: A matching label helps a ReplicaSet identify a Pod. The ownerReferences section helps you identify which controller owns it.
11. Deleting a ReplicaSet
When you no longer need a ReplicaSet, you can delete it.
Run:
kubectl delete replicaset nginx-replicasetBy default, Kubernetes also deletes the dependent Pods managed by that ReplicaSet.
What if you want to keep the Pods?
You can delete the ReplicaSet while leaving its Pods behind.
Run:
kubectl delete replicaset nginx-replicaset --cascade=orphanThe ReplicaSet is deleted, but the Pods remain.
They are no longer managed by that ReplicaSet.
Use this option carefully because those Pods will not automatically be maintained by the deleted ReplicaSet.
12. Important Commands to Remember
Here is a quick reference for the commands used in this article.
| Command | Purpose |
|---|---|
kubectl apply -f nginx-replicaset.yaml | Create or update a ReplicaSet from YAML |
kubectl get replicasets | List ReplicaSets |
kubectl describe replicaset nginx-replicaset | View ReplicaSet details and events |
kubectl get pods | List Pods |
kubectl get pods --show-labels | List Pods with their labels |
kubectl scale replicaset nginx-replicaset --replicas=5 | Scale up to five replicas |
kubectl scale replicaset nginx-replicaset --replicas=2 | Scale down to two replicas |
kubectl delete pod <pod-name> | Delete a Pod |
kubectl describe pod <pod-name> | Inspect Pod details and events |
kubectl logs <pod-name> | View container logs |
kubectl logs <pod-name> --previous | View logs from the previous container instance |
kubectl get events --sort-by=.metadata.creationTimestamp | List events sorted by creation timestamp |
kubectl run extra-nginx --image=nginx:1.27 --labels=app=nginx | Create a standalone Pod with the matching label |
kubectl get pod <pod-name> -o yaml | View a Pod's YAML, including owner references |
kubectl delete replicaset nginx-replicaset | Delete a ReplicaSet and its dependent Pods |
kubectl delete replicaset nginx-replicaset --cascade=orphan | Delete a ReplicaSet while keeping its Pods |
kubectl delete -f nginx-replicaset.yaml | Delete the resources defined in the YAML file |
Namespace note: These commands assume you are working in the default namespace. You can append -n <namespace> to a command to work in a different namespace.
Easy way to remember kubectl commands
get= See resources.describe= Inspect details and events.apply= Create or update resources from YAML.scale= Change the desired number of replicas.delete= Remove resources.logs= Read container output.
13. Cleaning Up
After completing the practice, remove the ReplicaSet.
Run:
kubectl delete -f nginx-replicaset.yamlThe ReplicaSet and its dependent Pods are deleted.
If you created extra-nginx and it was not adopted by the ReplicaSet, remove it too.
kubectl delete pod extra-nginx --ignore-not-foundThe --ignore-not-found option prevents an error if the Pod has already been deleted.
Verify cleanup
kubectl get replicasets
kubectl get pods
Check that the ReplicaSet and the Pods created for this exercise are no longer present.
14. What Have We Learned?
Let's quickly revise what we covered.
A ReplicaSet maintains the desired number of matching Pods.
A Deployment manages application updates and rollbacks and uses ReplicaSets behind the scenes.
Desired state is what we want; actual state is what currently exists.
Reconciliation is how Kubernetes works towards matching the actual state with the desired state.
Labels and selectors help a ReplicaSet identify the Pods it manages.
YAML defines the ReplicaSet configuration and the Pod template.
kubectl scalechanges the desired number of replicas.Deleting a Pod is different from a container crashing.
The kubelet handles container restarts; the ReplicaSet maintains the number of Pods.
Namespaces determine where Kubernetes resources are created and viewed.
kubectl get,describe,logsandeventshelp us investigate problems.A ReplicaSet can adopt matching Pods that are not already controlled by another controller.
One important line to remember:
A ReplicaSet continuously works towards maintaining the desired number of matching Pods. It does not repair the application running inside a Pod, and it does not restart containers. Container restarts are handled by the kubelet.
15. What's Next?
Now that we understand how a ReplicaSet maintains the required number of Pods, let's move to the next concept: Kubernetes Deployments.
We will learn:
What a Deployment is and why we need it.
How Deployments manage ReplicaSets.
How rolling updates work.
How to roll back an application to an earlier version.
How to update an application without taking it completely offline.
Kubernetes Learning Series
Kubernetes Pods Explained: Architecture, Lifecycle and Practical Examples
Kubernetes ReplicaSets Explained: Maintaining the Desired State
Kubernetes Deployments Explained: Rolling Updates and Rollbacks
How Pods, ReplicaSets and Deployments Work Together
Keep learning, keep practising, and remember: understanding why something exists makes it easier to understand how it works.
❓ Questions readers ask
What is a Kubernetes ReplicaSet?
A ReplicaSet is a Kubernetes controller that maintains the desired number of matching Pods.
What happens when a Pod managed by a ReplicaSet is deleted?
The ReplicaSet creates a replacement Pod to maintain the desired replica count.
What is the difference between a ReplicaSet and a Deployment?
A ReplicaSet maintains Pods, while a Deployment manages ReplicaSets and application rollouts.
🛍️ Malathi Shetty's shelf
Courses, cohorts and more from the author
I’m a Senior Software Quality Engineer learning and transitioning into Cloud & DevOps. I’m currently working hands-on with AWS, Azure, Linux, Docker, Kubernetes, CI/CD and DevSecOps. I share what I learn through practical projects and real-world examples.
Visit my ByteStoreLearning, building and sharing practical Cloud & DevOps experiences.🌟 See Malathi Shetty's full profile: blogs, work and verified certificates
Get Malathi Shetty's next blog by email
One email a week when they publish. Add the weekly Best of ByteBlog too. No spam, unsubscribe with one click.
We email you once to confirm. By subscribing you agree to the privacy policy.
More from Malathi Shetty
 Malathi ShettyFreelancer
Docker vs Kubernetes: Understanding Containers
Docker made it easier to package and run applications. But what happens when you need to manage hundreds of containers across multiple servers?
#deployments Malathi ShettyFreelancer
Kubernetes Pods: Architecture, Lifecycle & Examples
Kubernetes is a powerful platform for managing containers, but understanding how it works can feel confusing when we encounter terms such as Pods, Nodes...
#cloudcomputing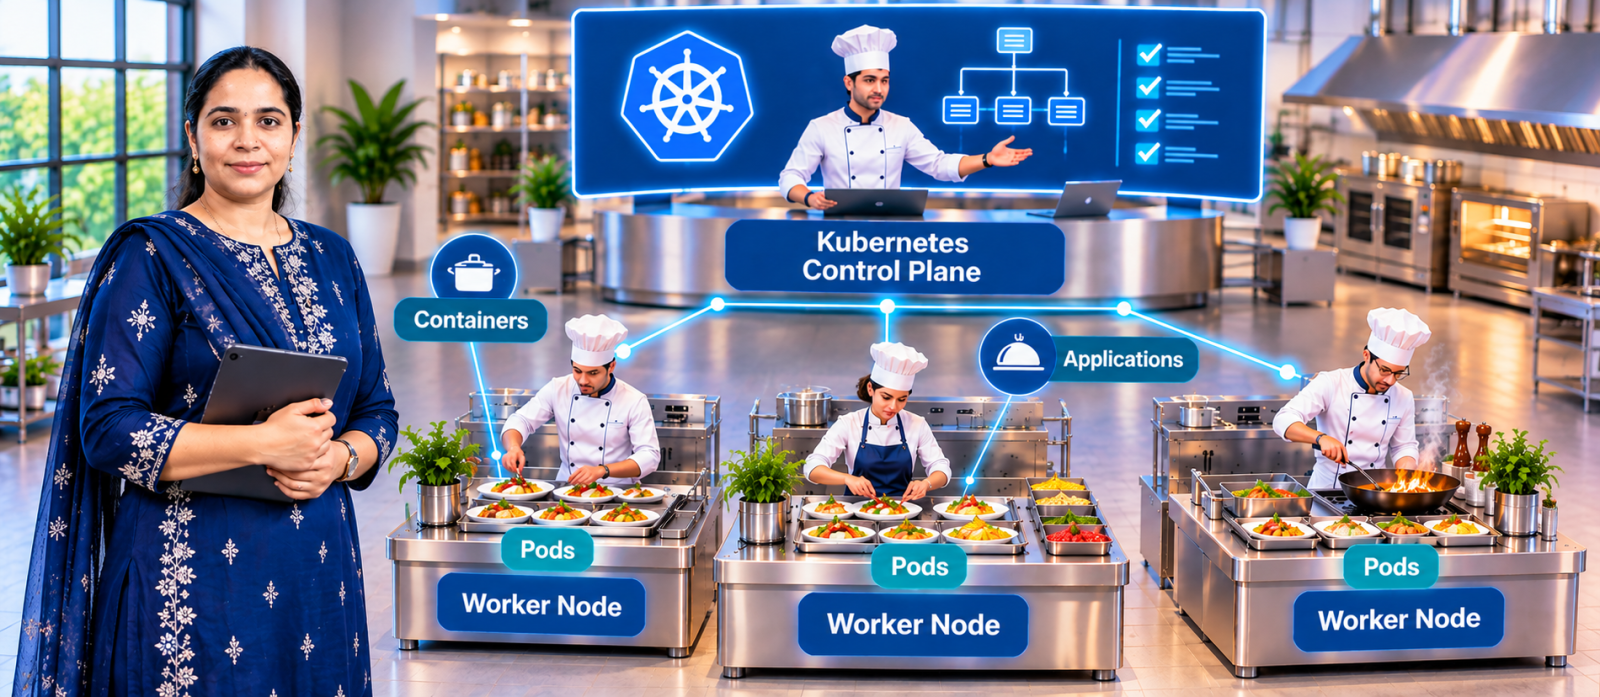 Malathi ShettyFreelancer
Kubernetes Basics Through a Restaurant Kitchen
Have you ever opened a Kubernetes tutorial, seen words like Pod, Node, Control Plane, ReplicaSet and DaemonSet, and wondered how they all connect?
#devops Malathi ShettyFreelancer
Running Kubernetes Locally: kind vs minikube vs Docker Desktop
Learn how to set up Local Kubernetes with kind, minikube and Docker Desktop, deploy an NGINX application, and compare the tools through hands-on examples.
💬 Comments (0)
Top · NewestSign in to comment